Design Work
Design is one of my favorite aspects of development, where planning and ideation meet to define how a game functions. Here I have included several projects where I have done design work and made One Pagers, mock ups or entire levels.
Chain Lightning - Unreal Engine 5
I recently had the pleasure of working on a chain lightning design and implementation project in Unreal 5 as a design test. I tackled every part of the design, from concepting to implementation, programming, bugfixing and even polish. It’s meant as a simple ability not dissimilar to the ones seen in first-person action games like Overwatch. In this section I will show the ability in its full glory along with some of my process in creating it.
Phase 1: Planning
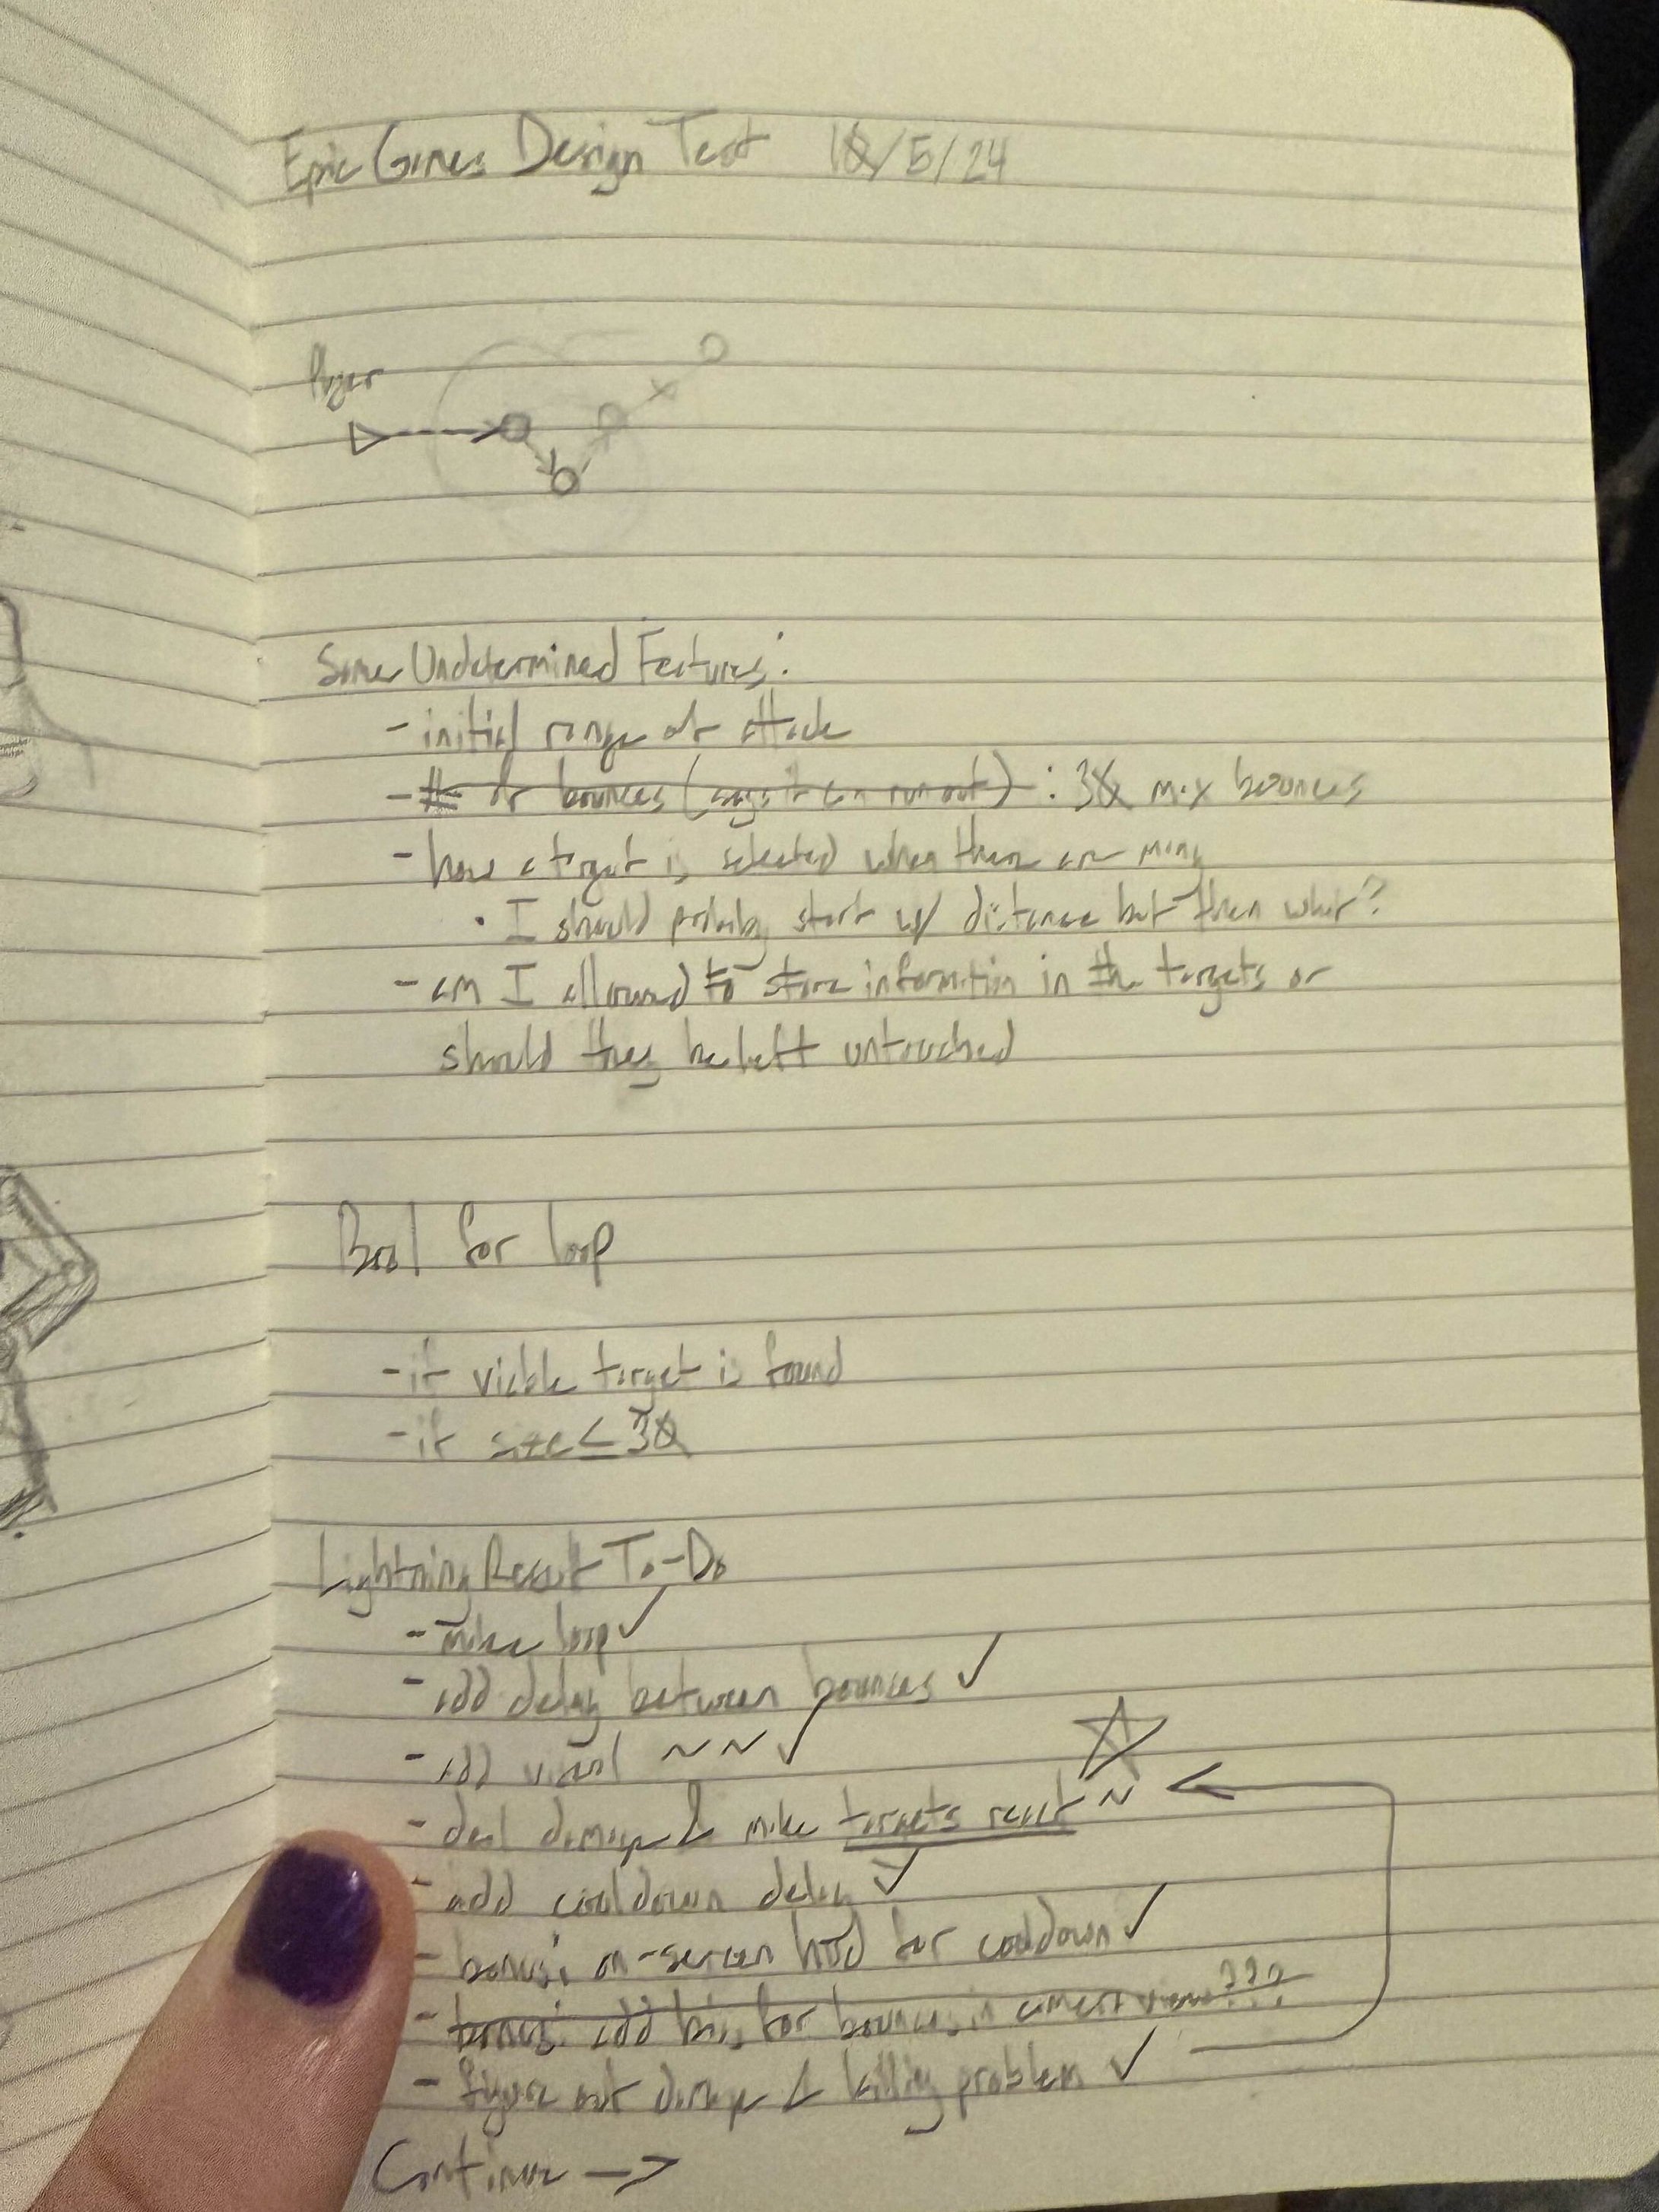
My planning begins on paper. Once I know generally what I’m creating I get to working out the basics on the page, ensuring I can fully conceptualize the idea and beginning to tease out what features need to be designed and implemented.
Once I have the basics down I start listing features and ideas out in a to-do list, both to keep the full implementation in one place and to ensure I don’t miss anything along the way. This is a living document, and I will continue to add things as I go, marking completed jobs with a check.
Phase 2: Prototyping
Once I have a firm grasp on what I’m making I like to get into engine as quick as possible. My goal here is simply to get all the basic functionality working. In this case that meant the ability to activate the attack and to have targets locate the next target of the lightning chain (seen to the left). This is also where the basics of structure come into play, wherein I decide how to store all of the information. For example, I was originally going to make this ability use the Gameplay Ability System (GAS) but, after some thought, opted for more standard actor components instead.
Phase 3: Implementation
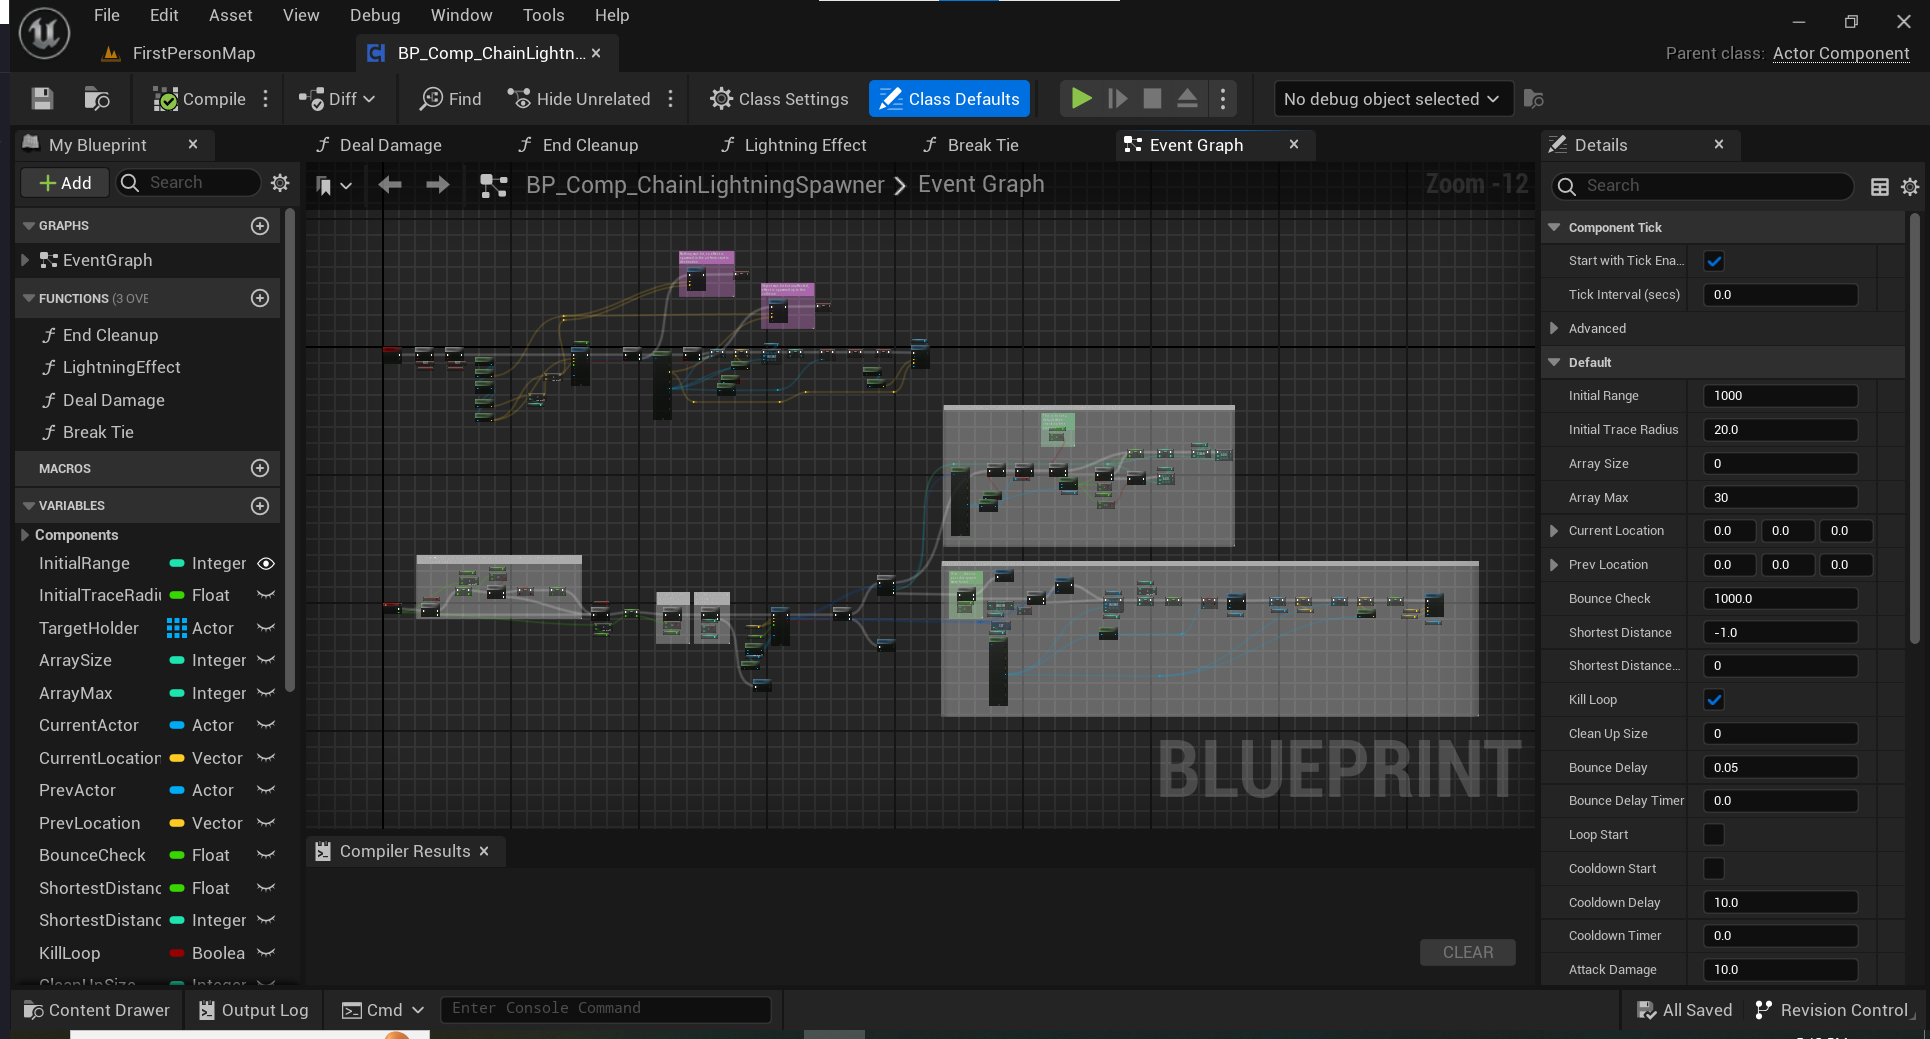
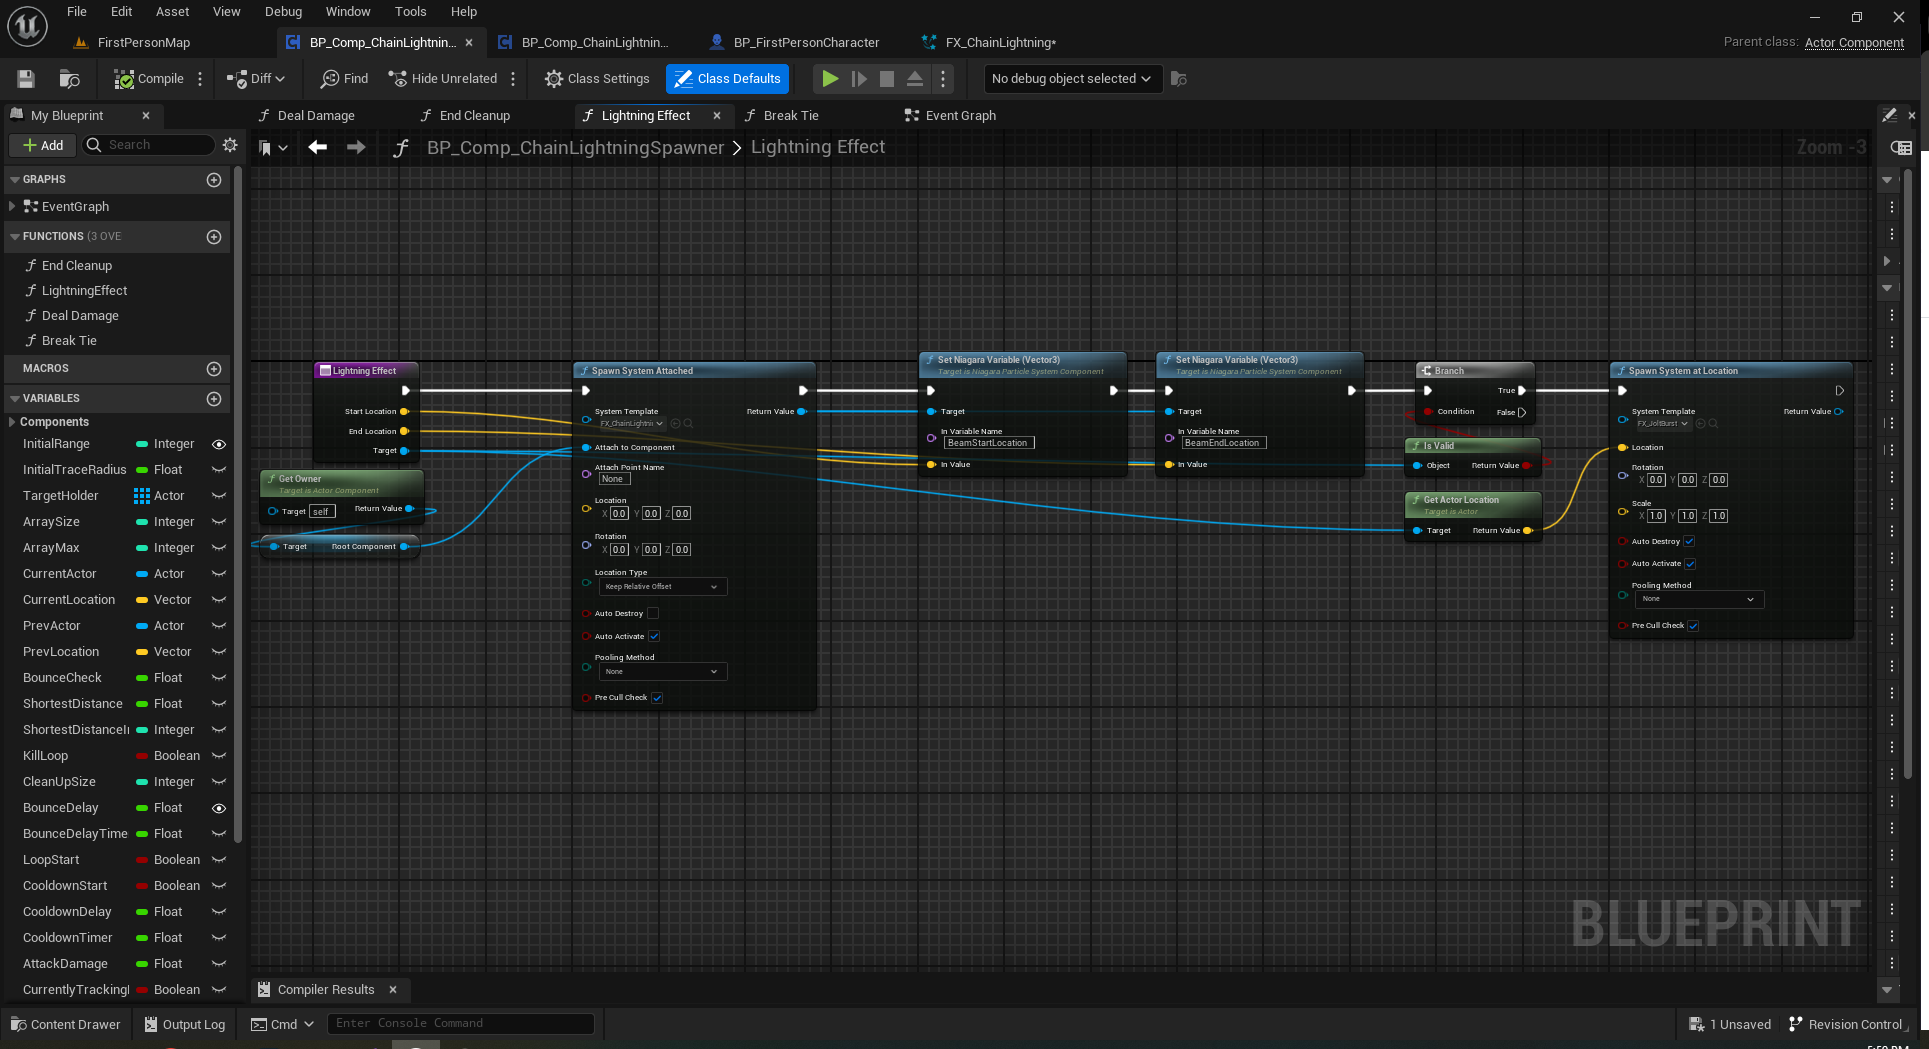
After the basics are in it’s time to get to work, implementing the core features, ensuring they function properly while adding visual elements (even if some are not final at this stage). This project was handled entirely in blueprints, some of which you can see to the right. All visuals (baring the standard test environment) where created by me as well, using programs like Substance Designer and Photoshop.
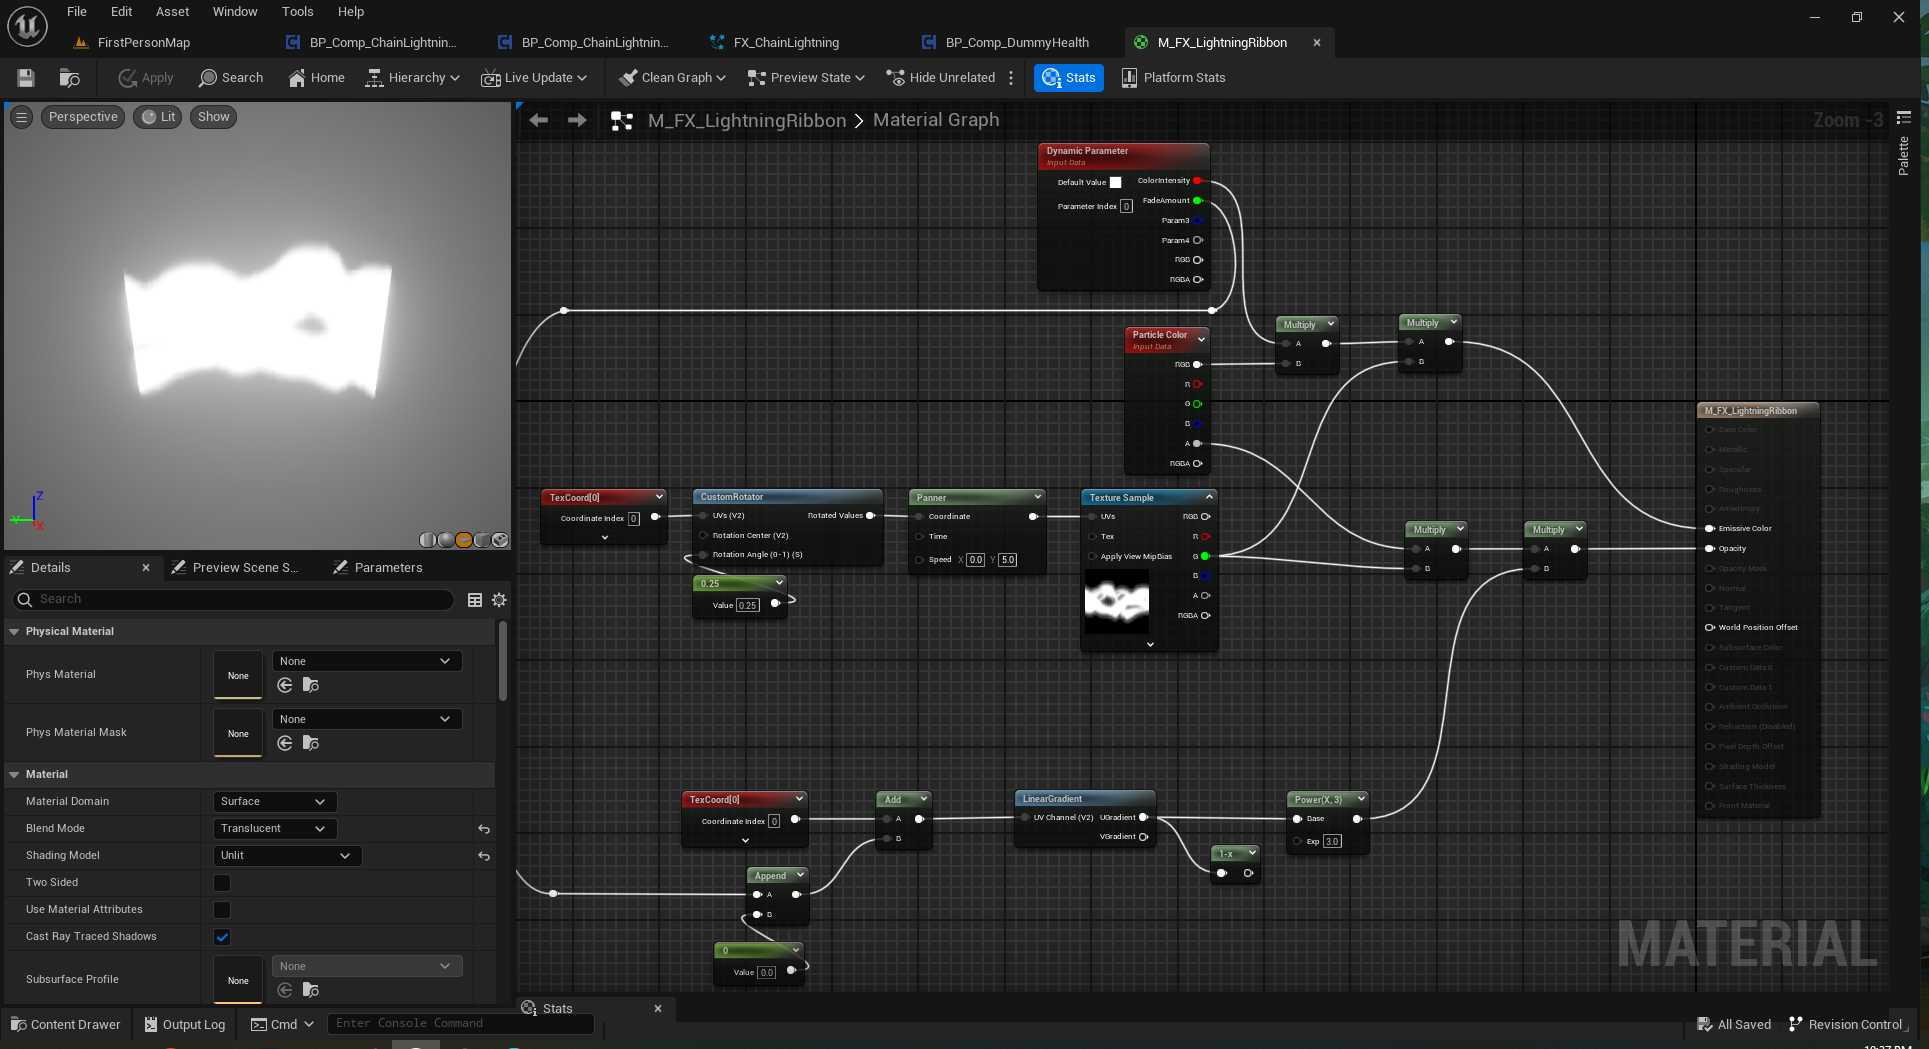
Speaking of visuals, this is also around the time when the effects are being added as well. This project utilizes two niagara systems, one for the beams connecting chained targets, and another for the burst when a target is struck. The systems for both can be seen to the right, along with the material graph for the lightning shader and texture for the jolts flipbook.
Phase 4: Bugfixing and Polish
Similarly, there is a lot you can do to make an ability feel better just using some little details. Here you can see where I was testing to ensure the ability worked on any target, not just my single dummy. Along with it you can see the filling icon to indicate when the ability is ready to use, complete with slightly different appearance when its full, so there is no doubt when the attack is ready to fire again. Tasks like these are often started earlier in but I ensure they are fully attended to by the end of the project (my to-do list coming in handy so I don’t forget them - haha!)
When programming and designing, it’s impossible to account for everything from the beginning, so there will always need to be a few passes of bugfixes. While I strive to tackle issues throughout the process it’s towards the end I intentionally try to break it as much as possible. To the left is an example of this, wherein the default tie-breaking between equally close targets wasn’t consistent, leading to a single target being left untouched in the final shot. This led to me writing a robust tie-breaker blueprint to handle such a case.
Digital Audio Wasteland
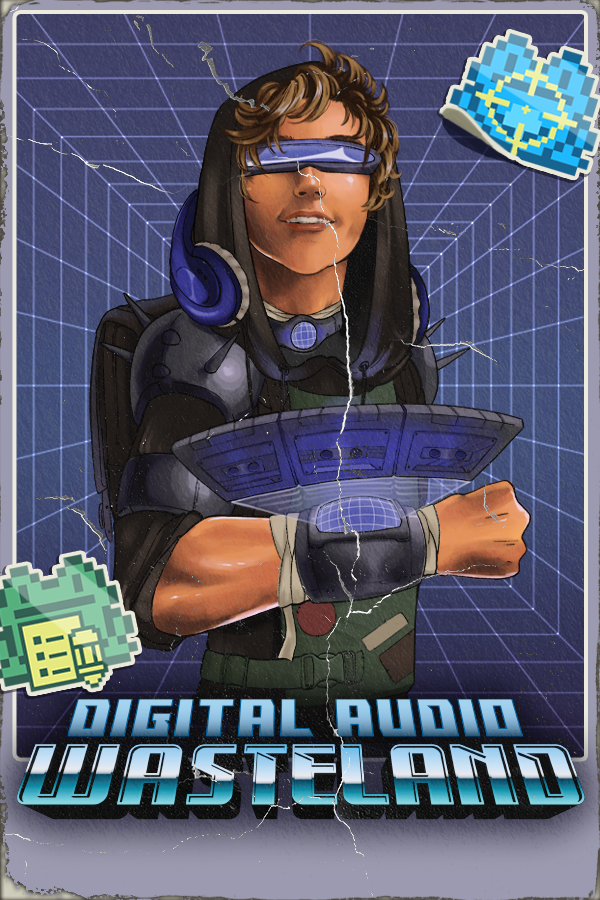
This is a finished game you can find on Steam right now! I worked as Level Designer as well as a Mechanics Designer, and was heavily involved in meetings and decision making. I completely helmed the design portion of the entire Mall level, and saw its creation from planning to finishing.
Level Design
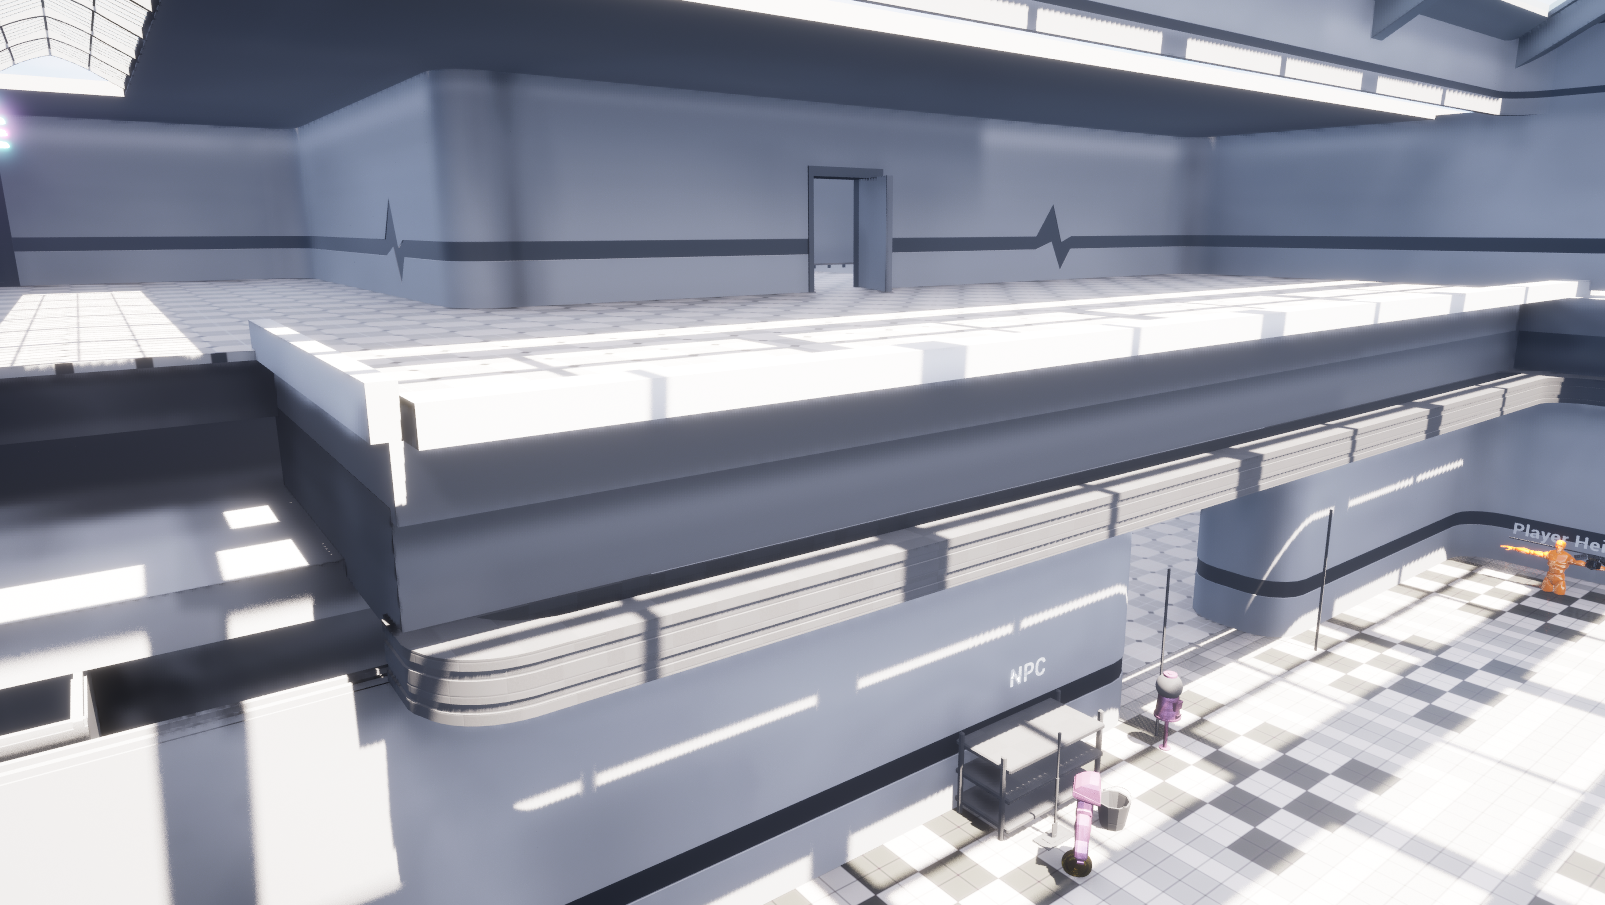
I had the honor and responsibility of developing one of our three main levels, the abandoned mall. I was intimately involved in this project from the early concepting to the whiteboxing, to the itty-bitty details.
I worked with several other artists and programmers to ensure the functionality and form of the level met our standards and all worked as intended.
Mechanics Design
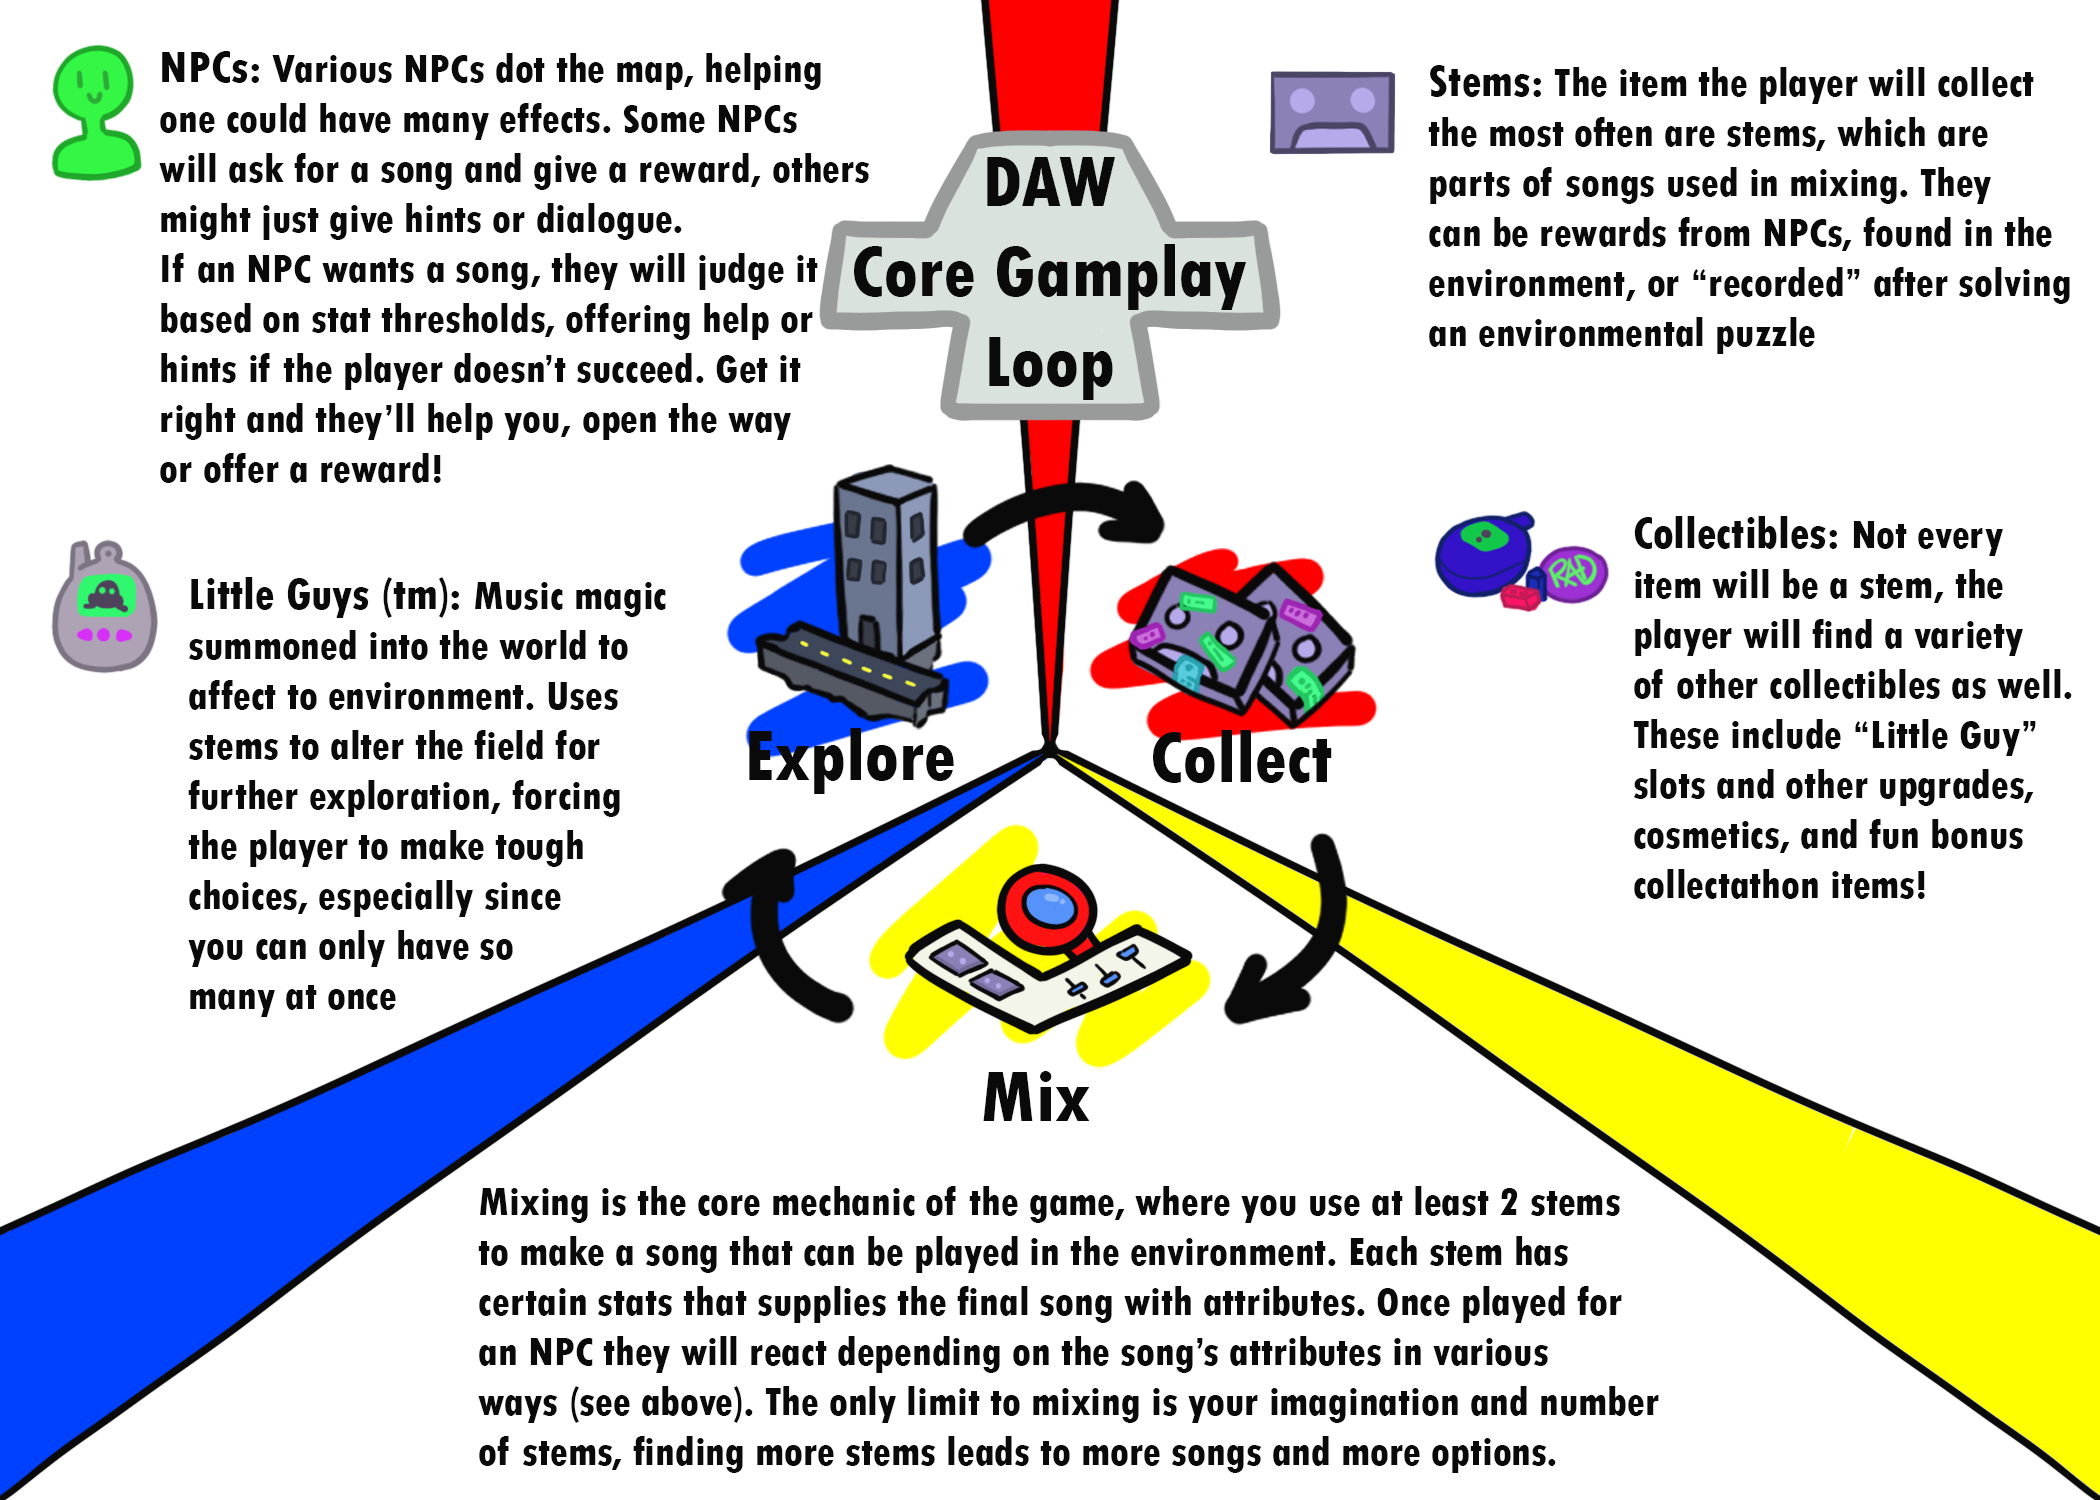
I was also heavily involved with the mechanical design of the game itself. From making One Pagers to standing in meetings, I played an integral role in shaping the way the game functioned.
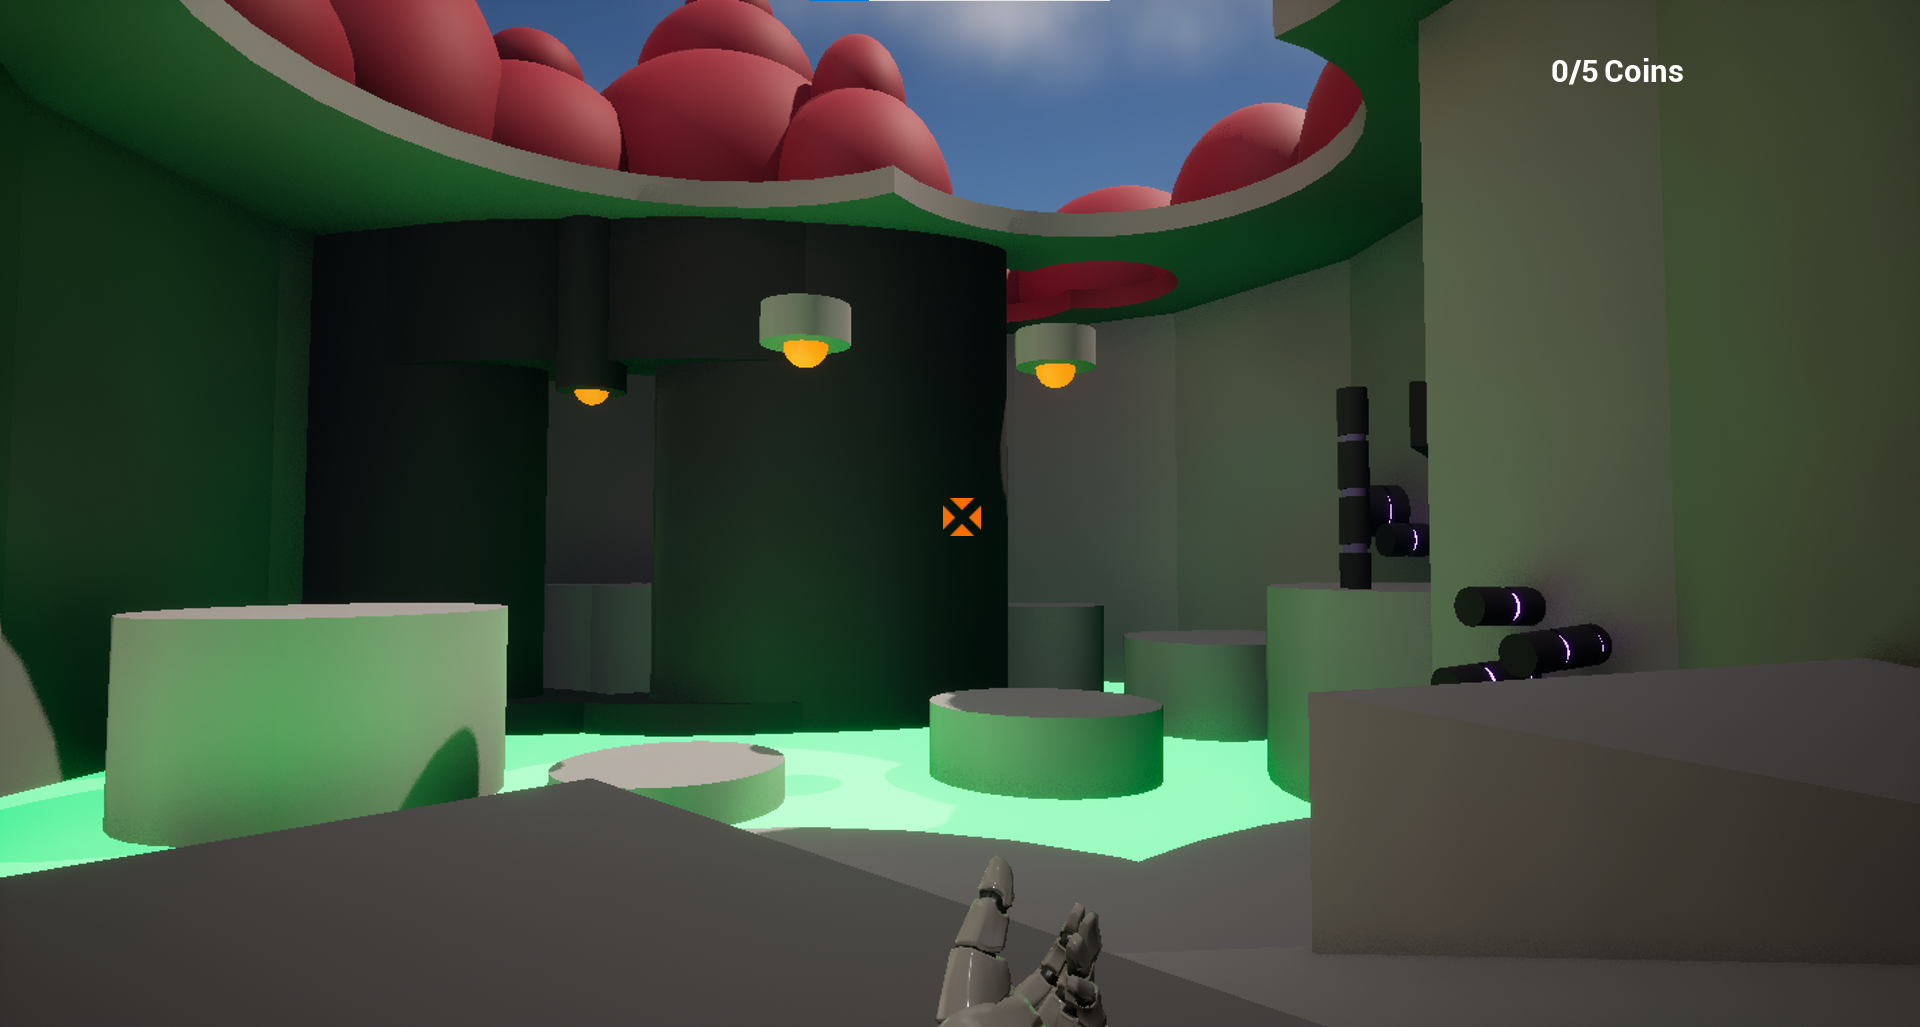
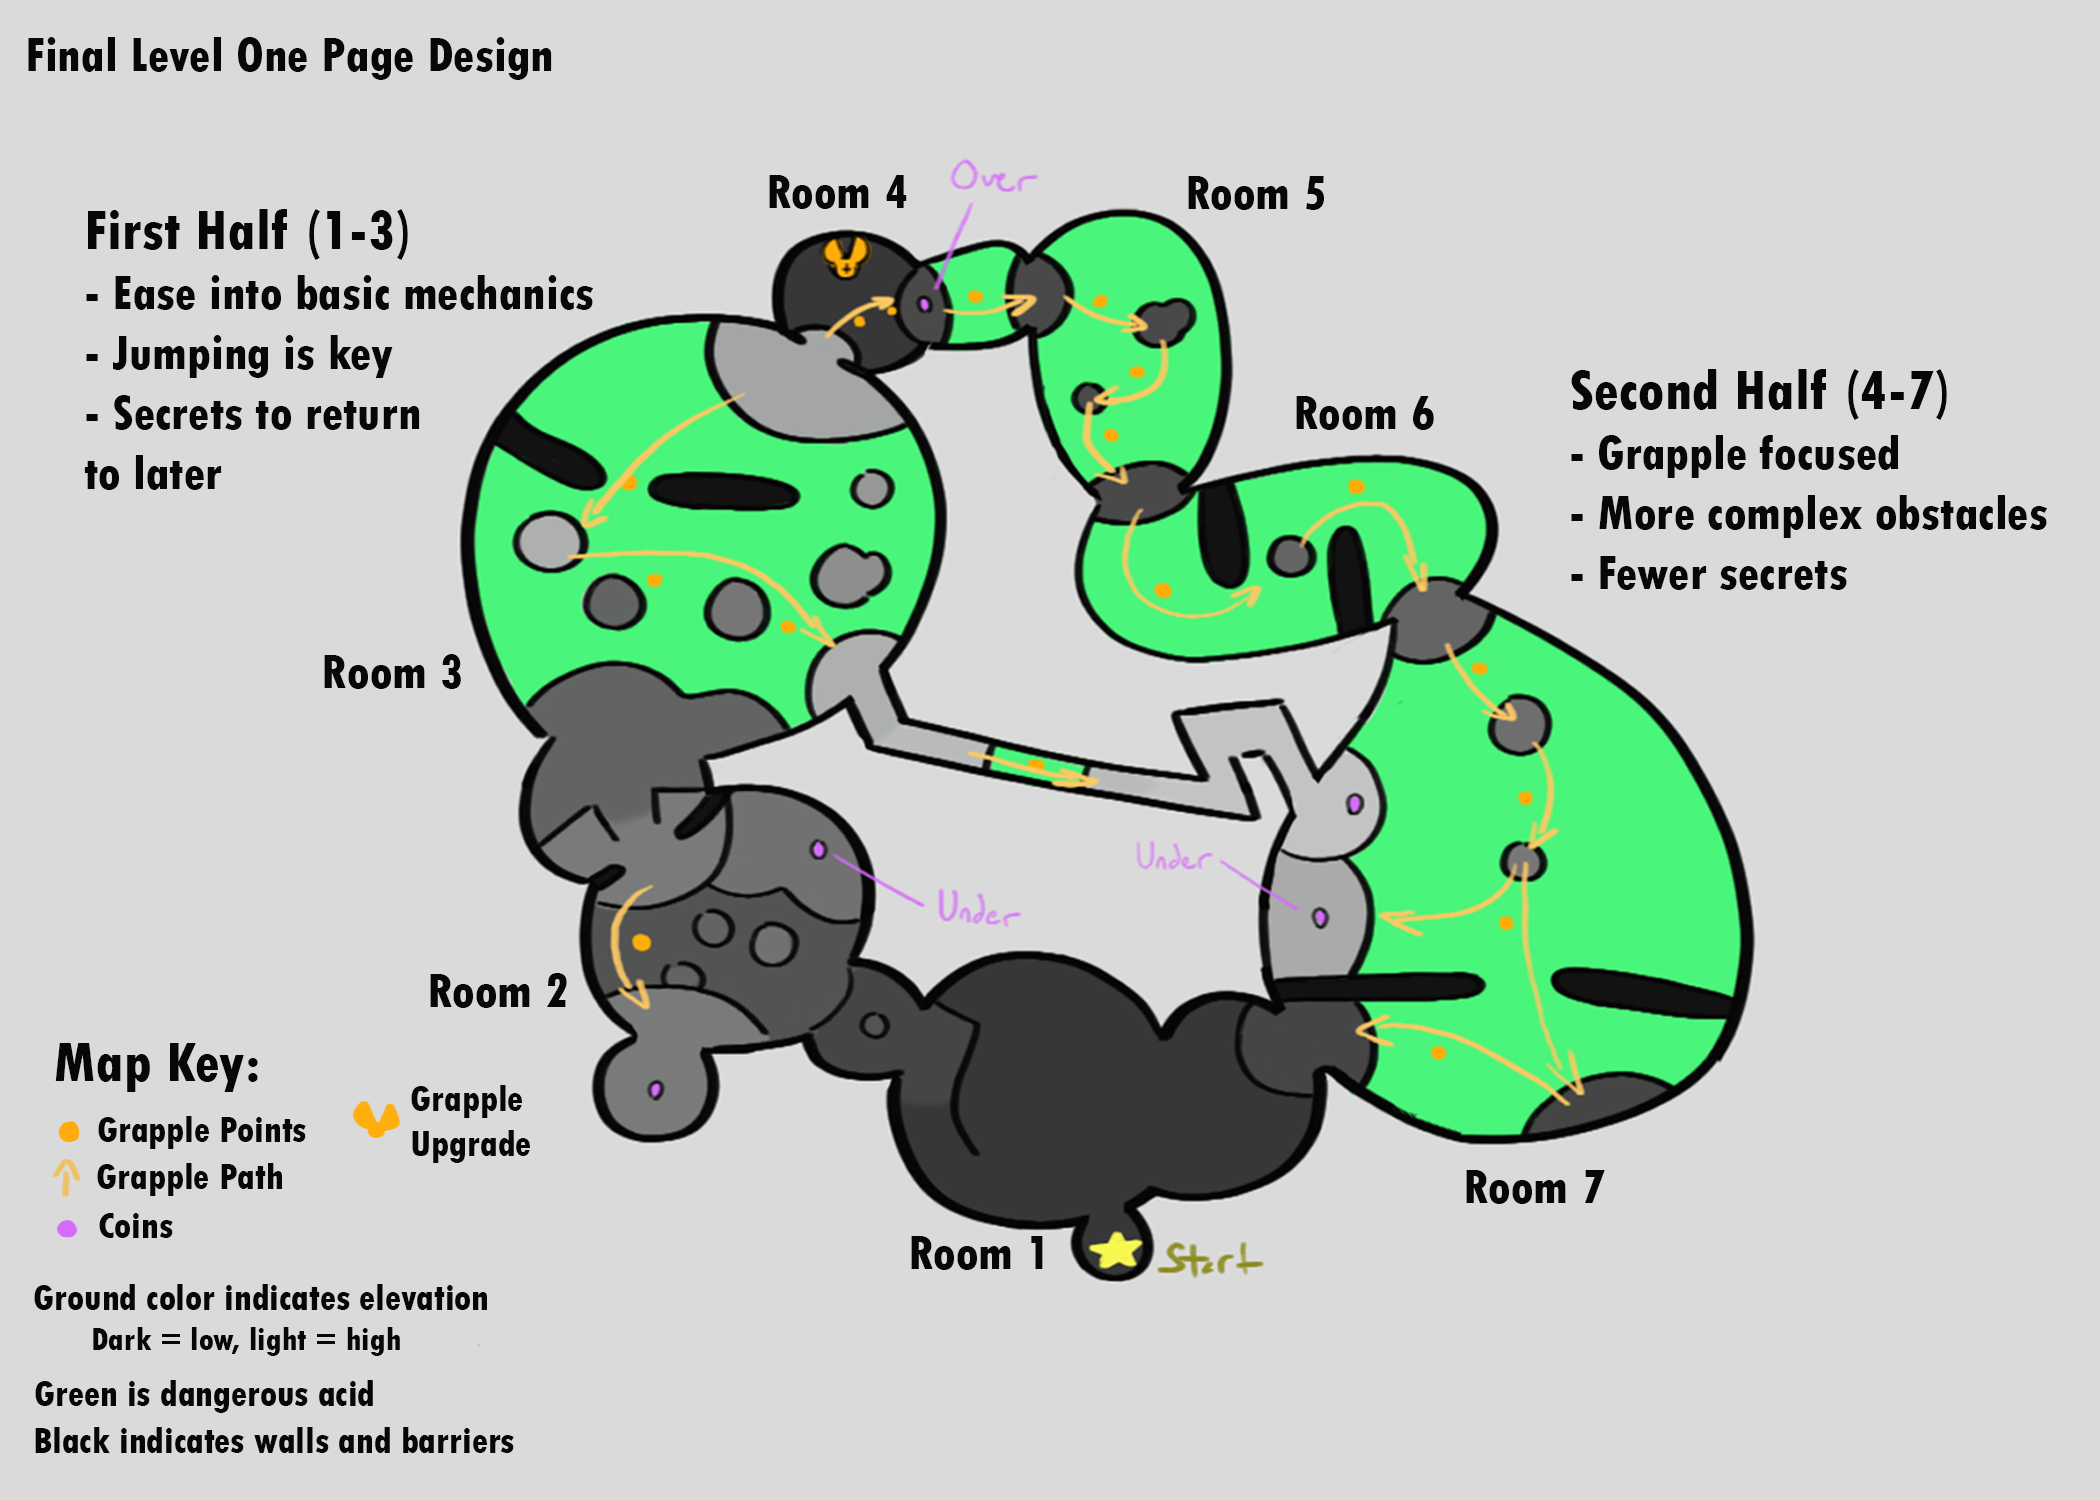
As my final project for my Level Design class at the University of Utah, this was made to showcase level design surrounding a single main mechanic of grappling, in addition to jumping. It is a White Box, and was not ever meant to have finished assets.
With heavy influence from the Metroid Prime series, this short game experience features a level that must be explored thoroughly to complete. The primary focus is on teaching and testing player mastery of the central mechanic of grappling.
First-Person Action Game
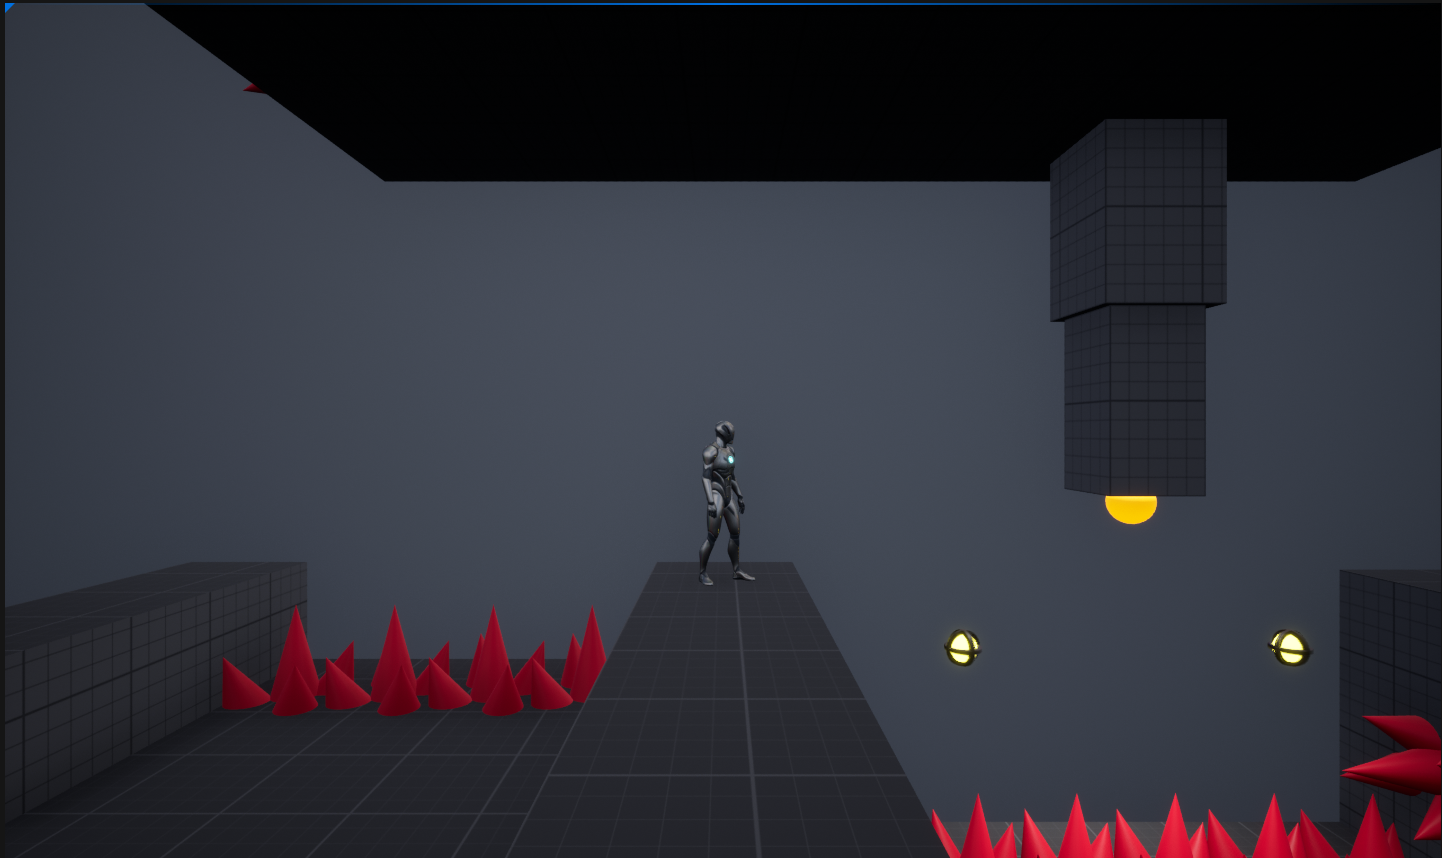
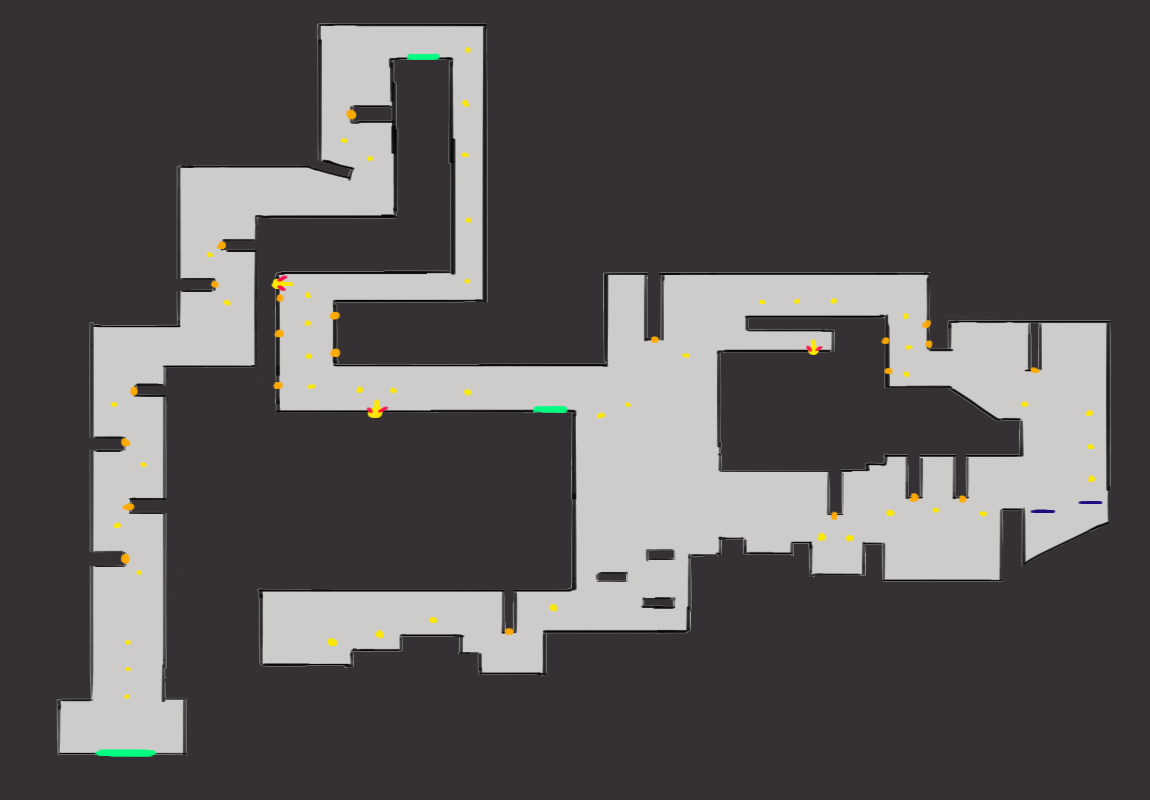
As another project for my Level Design class at the University of Utah, this particular experience is designed as a side-scroller, taking particular influence from Mega Man X.
While it also features grappling, it is handled differently from the First-Person Action Game experience above. This mechanic is a prototype of sorts for the mechanic that would eventually become the First-Person Action Game.
Side-Scrolling Platformer
Open Park Walking Sim
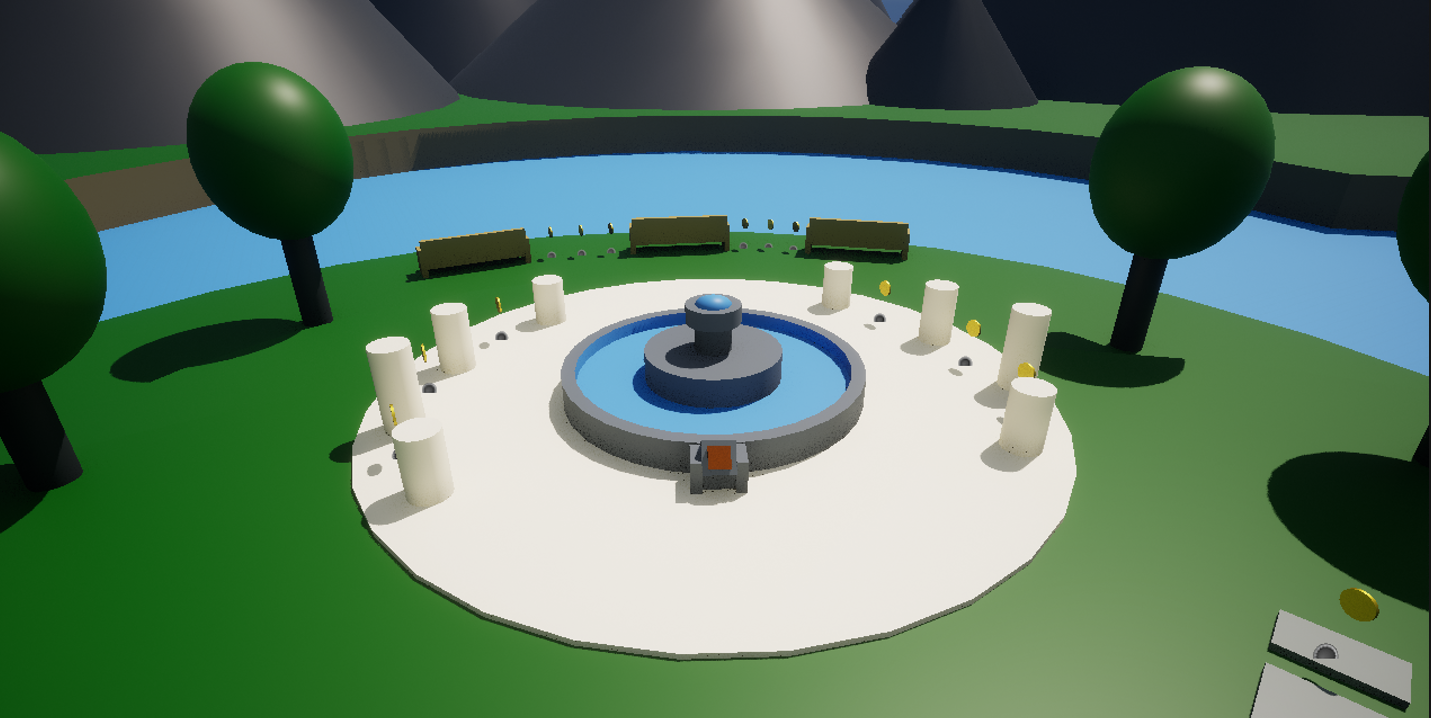
Another project made for my Level Design class at the University of Utah was this Open Park Walking Sim. Unlike the others, this was designed with only walking in mind. As such, it was a showcase of filling a space using only simple geometry while still making an area feel full of interesting landmarks.
It features a park space designed after real world locations, altered to feel more like a video game environment.
